

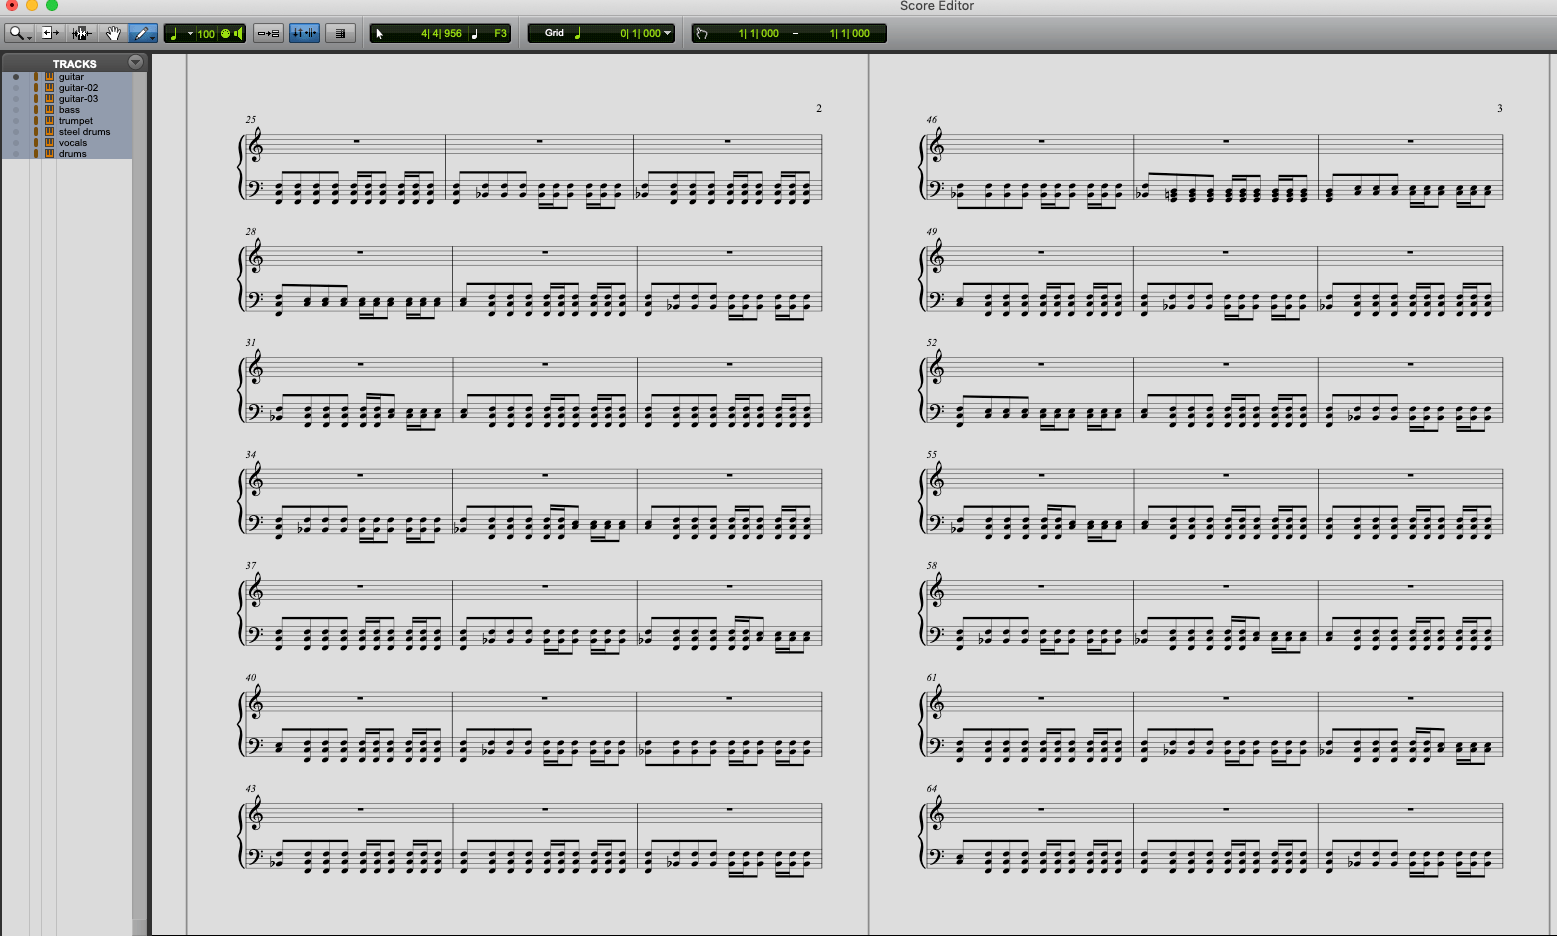
The art of hand-writing sheet music is becoming easier than ever with the assistance of technology. In this article, we'll discuss how to use the "Score Editor" in Pro Tools to arrange, display, and print sheet music with proper notation that musicians can easily read. Article by Mihai Boloni
There are a few guidelines that are very important to understand first for the process to initiate properly. First, you must know the key of the song that you are intending to score. It is also important to know the key of the instrument you are printing for, as many instruments are tuned to different keys. Most trained musicians can still translate even if you print in "Concert C"; but it is most appropriate if their parts are transposed to the key of their unique instrument.
Setting the Key in Pro Tools

- From the Key Ruler, either click the "+" from the side column of the rulers view, or right-click on the ruler at a point at which you would like to add a key change. It is possible to add key changes throughout the session, and transpose MIDI data accordingly, but that is a topic for another day. Right now, let's just get the key of the song inserted at the beginning of the session.
- Upon entering a key change, the key change dialog box will allow you set a major or minor key change at the current cursor location. Setting the proper key signature here is essential for musicians to be able to read your scores properly. A trained musician is used to looking at the key signature of a song, and knowing which notes are sharp or flat in a particular key. If you try printing a score in the default key signature (C Major), but play in another key, the score editor will show, or notate, every sharp or flat throughout the score. It's much easier to know ahead of time that every F is an F#, and only mark sharps or flats, also called accidentals, which are played intentionally out of the current key signature.
Opening the Score Editor Window
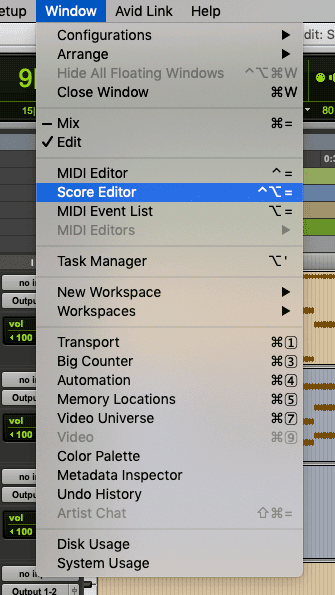
- From the Window Menu, you can find Score Editor, or you can press (Control)+(Option)+(=) to open the Score Editor Window
- From the track show/hide column (left) you can choose which tracks to view currently, which is what will be printed. You can print one view, then change to another track view and print again to print each part out individually.
Score Setup
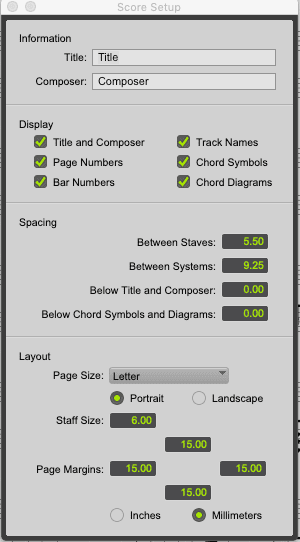
You can set up the Score not only with Title and Composer information, but also layout. For example:
- You have a choice of what information you want to display on the Score, such as Chord Symbols and Diagrams, Bar Numbers, Track Names, etc...
- Options also allow you to set the Spacing between Staves and Systems, as well as your display Layout. It can also accommodate Inches or Millimeters
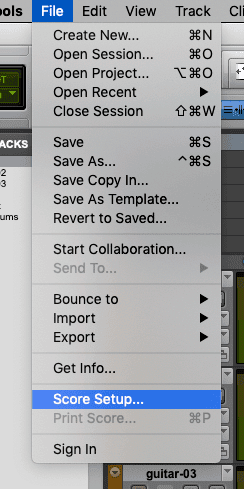
To get to the Score Setup go to the File Menu:
Printing your score as sheet music
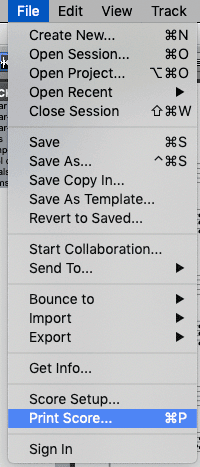
- Printing is as easy as pressing (Command + P), or choosing "Print Score..." from the File Menu. This brings up the Print dialog box.
- From here you can either choose your printer of choice, and set settings, or click on PDF, and choose "Save as PDF..." to create a PDF file of the track to be printed.
There is obviously some clear knowledge of music you need to know in order to be able to proof the notation that Pro Tools has determined from your tracks. But this "Score Editor" tool will certainly save you hundreds of hours and get you many steps ahead of the handwritten process. Imagine being Beethoven and having to write out individual parts for an entire orchestra by hand. You can definitely appreciate what technology has contributed to music.
Have Fun Being Creative!
Mihai
Author: Mihai Boloni
Avid Expert Certified Pro Tools Instructor
www.protoolstraining.com
888-277-0457